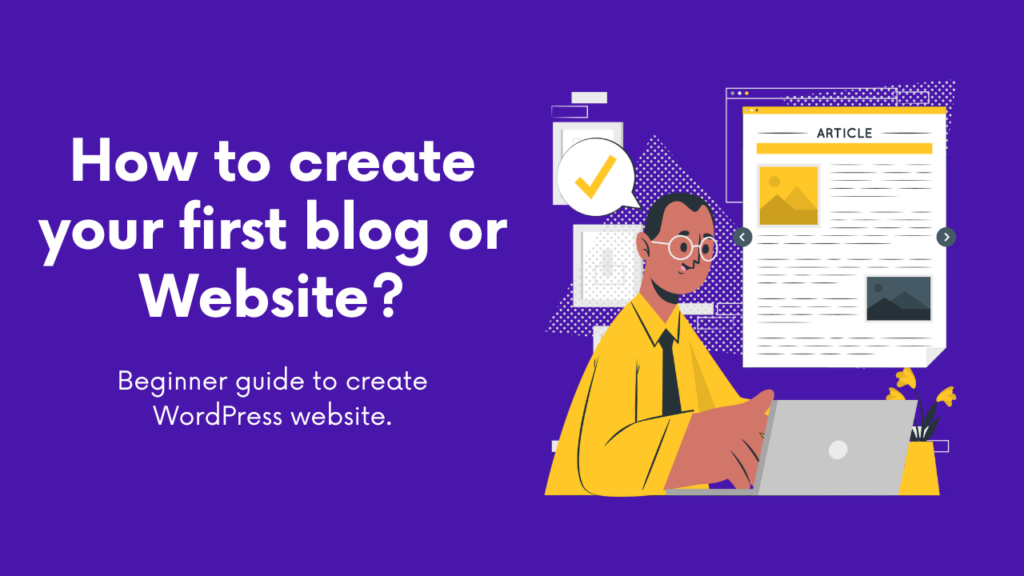
Do you know How to install WordPress on Hostinger? If you bought or have a plan to buy Hostinger web hosting for your wordpress website, you may have a similar question.
I have been using Hostinger for over two years, I have websites on WordPress and they are so fast and smooth.
WordPress has become the go-to content management system (CMS) for bloggers, small businesses, and even large corporations due to its user-friendly interface and extensive customization options.
In this in-depth tutorial, I will walk you through the step-by-step process Where you get knowledge of how to install wordpress on Hostinger, a popular web hosting provider known for its affordability and reliable services.
By the end of this guide, you will have a fully functional WordPress website up and running on Hostinger.
How to Install WordPress on Hostinger ( Step by Step )
If you already bought Hostinger’s web hosting plan skip step one. You only have to log in to your H-panel and start installing WordPress.
Step #1: Sign Up for Hostinger
To get started, visit the Hostinger website and Sign up for a Hostinger account.
Choose a suitable hosting plan that meets your requirements, whether it’s shared hosting, VPS hosting, or cloud hosting. Complete the registration process, and you will receive a confirmation email with your account details.
Step #2: Access the Control Panel (hPanel)
After signing up, log in to your Hostinger account using the provided credentials. Once logged in, you will be redirected to the hPanel, Hostinger’s control panel.
The hPanel is a user-friendly interface that allows you to manage various aspects of your hosting account.

Step #3: Create a New Website In the hPanel
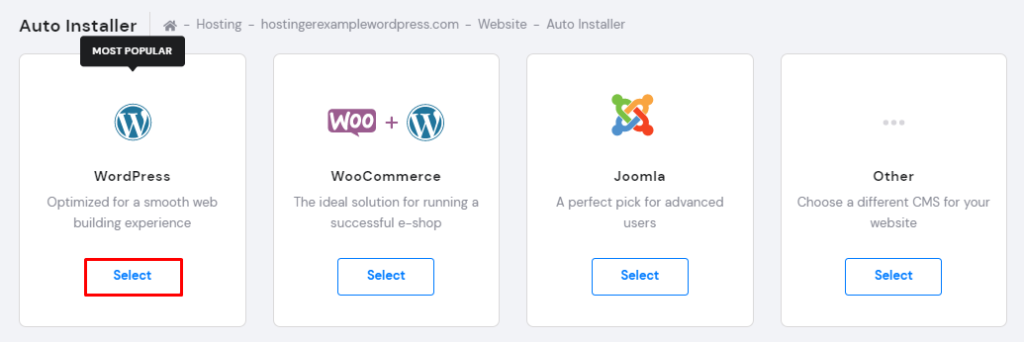
Navigate to the “Website” section and click on “Auto Installer.” This feature simplifies the process of installing web applications, including WordPress, with just a few clicks.
Step #4: Choose WordPress for Installation
On the Auto Installer page, you will find a list of applications. Locate WordPress and click on it to start the installation process. Hostinger makes it convenient by providing the latest version of WordPress.
Step #5: Configure WordPress Installation
After selecting WordPress, you will be prompted to provide installation details.
Fill in the following information:
- Choose the domain where you want to install WordPress. If you have multiple domains, select the appropriate one.
- Set up an admin username and password for your WordPress site. It is crucial to use a strong password to ensure the security of your website.
- Enter your website’s title and a brief description. These can be changed later via the WordPress dashboard.
- Select the desired language for your WordPress site. Hostinger supports multiple languages.
Step #6: Install WordPress on Hostinger
Once you have filled in the necessary details, click on the “Install” button to initiate the WordPress installation process.
Hostinger will automatically set up the required files and create a database for your WordPress site. This process usually takes only a few seconds.
Step #7: Access Your WordPress Dashboard
After the installation is complete, Hostinger will provide you with a confirmation message and the login details for your WordPress dashboard.
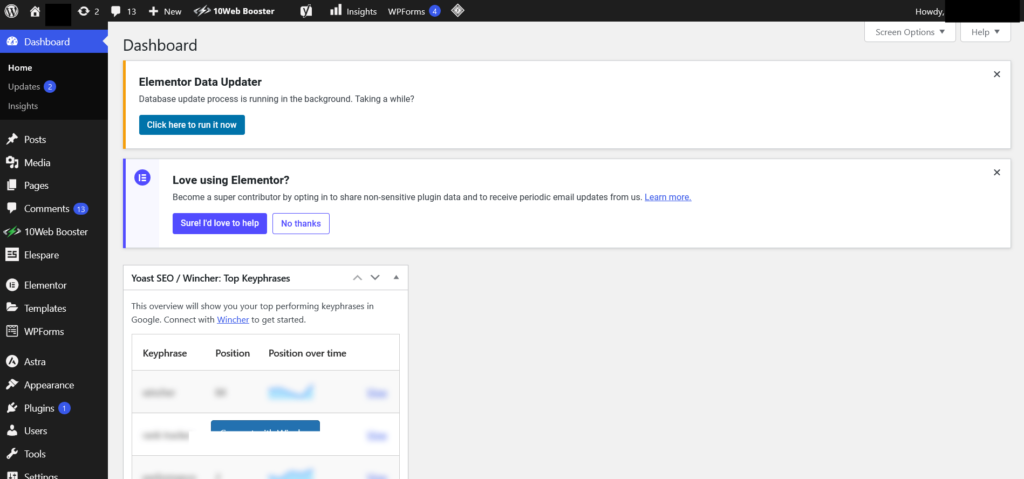
Take note of the admin URL, username, and password as you will need them to access your website’s backend.
The WordPress dashboard is where you can manage every aspect of your website, including themes, plugins, and content.
Step #8: Customize Your WordPress Website
With WordPress installed, it’s time to personalize your website. Access your WordPress dashboard by visiting the admin URL provided earlier and entering your login credentials.
From here, you can explore various themes to change the appearance of your website, install plugins to add additional functionality, and create engaging content for your visitors.
Conclusion:
By following these steps you can install wordpress on hostinger after that you can use your creativity and build a stunning website.
Hostinger’s user-friendly interface and efficient installation process make it an ideal choice for both WordPress beginners and experienced users.
With the power of WordPress and the reliability of Hostinger, you have all the tools you need to create a professional and feature-rich website that fulfills your online goals.
I Hope these easy steps help you to install wordpress on hostinger. If you have any doubts, let me know in the comment sections
I have three websites, one is an online store. In the last two years, I've learned a lot about online business. I had tested web hosting, email tools, website builders, Website Themes, SEO tools, and more. Now, I know what works well for success in online business.